
All images are property of
Warner Bros™
![]()
Written and illustrated by Dr. Hugh
Website conversion and layout by Bert Jamin

|
|
|
|
|
Click on one of these images to go to that Level
 |
 |
 |
 |
 |
 |
 |
 |
 |
 |
Or click on the image at the bottom of this page to go to the next Level
To go to one of the sublevels just click on one of these links:
Hogwarts Main Entrance/Corridor to the Girl's Toilet (Troll)
Quidditch Match: Gryffindor vs. Ravenclaw
© February
2003 Bert Jamin (www.gamesover.com)
This walkthrough may not be sold and may not be used for any commercial
purposes. Neither is it permitted to publish this walkthrough in any way without
the written permission of the author. Feel free to place this walkthrough on
your web site or on your home page, on condition that no part of this
walkthrough is changed and that the name of the author (Dr. Hugh), the URL of
the owner of this site (
www.gamesover.com ) and his E-mail address (
gamesover@planet.nl
) are mentioned unchanged. For the most up to date walkthroughs always visit
www.gamesover.com.
If you have any suggestions to improve this walkthrough, let me know by sending me an email: gamesover@planet.nl .
Potions Lesson
Find the Potion Ingredients.
Find 1 secret Wizard Card. Find 2 Secret Areas.
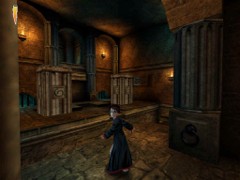
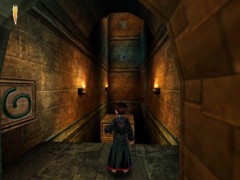
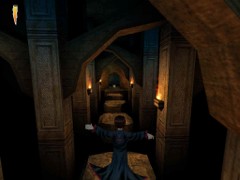
[3.9] Harry runs down the stairs to
the Dungeons.
Keep going down until you reach a lugubrious room full of
color-smoking cauldrons.
Meet a dark, unfriendly individual:
Bring back Wiggentree Bark, Moly, Dittany and Flobberworm
Mucous.
Follow past the central pillars and outside walk over the
bridge. A camera view will fly to an Ingredient on the opposite side. Harry
says: Hmm… That must be Dittany.
When Harry crosses the bridge to catch the Dittany, it
suddenly collapses and Harry tumbles down to a lower floor.
Harry crosses the
bridge...
...and tumbles into the deep
Where am I? I wonder if Snape tricked me?
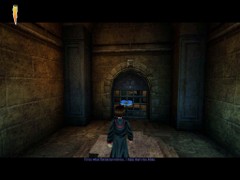
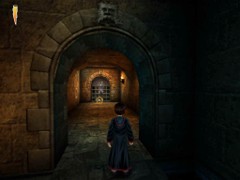
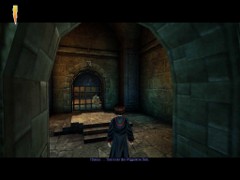
[3.10] Harry may now enter a room
with a Flipendo block locked up in small central room.
There are two more tall Flipendo blocks on the opposite side
of the small room, past a deep trench.
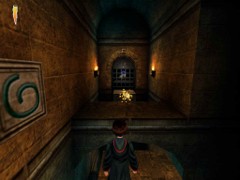
Jump to the opposite side and take a good look at this
puzzle. Obviously the blocks will have to be moved with Flipendo. You can see
the tracks.
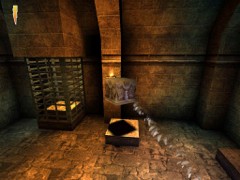
Two tall blocks...
You can push a block to the balcony, but the block is too
high to climb.
Instead, move the blocks one by one toward the middle of the trench. The blocks will slide down in the trench...
...forming a path
That will also open the grilles of the central room. Go to
the opposite side and push the released block with four Flipendo all the way
over the path to the front of the balcony.
From what
Hermione told me. I think that’s the Moly.
Walk to the Moly and Harry will collect it. That will also
open the next grille. Stand on the pedestal and cast Flipendo on the switch.
Harry will then be lifted up. Jump off the pole and ascend the stairs. Your next
Save Book is left.
Better save here
[3.11] The next room contains two
Flipendo switches, one left of Harry and one high on the opposite wall.
Flaoting blocks
and two switches
Cast Flipendo at the one on the left wall and two floating
blocks will start moving. The first is floating horizontally and the second
vertically.
Jump on the first one when it approaches. Ride and jump to
the second when it has lowered.
Careful in this room: there is no floor. Jump to the ledge on
the left. Turn around and cast Flipendo at the switch on the opposite wall.
This door opens
and will close soon
Quickly run inside and collect your
Wizard Card #49: Elladora
Ketteridge, 1656-1729. Witch who discovered the use of Gillyweed. She nearly
suffocated after eating it, recovering only when she stuck her head into a
bucket of water.
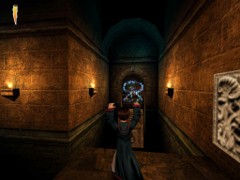
Cast Alohomora on the lock and this door will slide upward.
Cast Flipendo on the switch and the door on the left will open. Go stand on the
plate and cast Flipendo on the switch.
Harry will be lifted up. Jump off the lift into a new room
with a switch and a door. Flipendo on the switch will open the front door. Jump
back to the familiar vertically floating block (careful: Harry has a tendency to
over jump; it’s is a tricky jump).
Now jump to the second floor without falling in and grab all Beans. Jump back to the block (another tricky jump) and ride up. On top, quickly cast Flipendo on the switch.
That will engage another floating block on the third floor.
Ride down and up again and finally jump to the third floor. Seize your 1rst
Challenge Star.
Harry’s first
Challenge Star
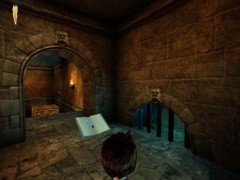
Before jumping on the block open the door with the lock by
casting Alohomora. Now jump to the block and ride all the way to your next Save
Book. Jump on the block and save your game.
[3.12] And it’s still jumping time!
There are four floating ledges on your left. Their shape
tells you they’re not very stable.
Keep running and jumping, they will quickly drop down when
you step on them. Run and jump to the platform in front of the wall switch. Cast
Flipendo to engage another floating block on your left. First cast Alohomora on
the grilled door, and then jump on the block when it approaches.
Alohomora on the
door first
Ride the block to the opposite side, jump to the platform and
cast Flipendo on the switch. On your right there is a similar situation. Cast
Alohomora on the door and ride the block.
[3.13] Run and jump again the row of
four collapsing blocks and jump to the platform with the Star.
Keep running and
jumping
Take the 2nd Challenge Star and enter the
corridor.
Harry will see how the Bloody Baron floats out of a door that
immediately closes again. Do not let him touch you …Auch! Stand aside when he
passes. He’s following a steady track.
Do not take the stairs on your right but wait for the Baron
to return and follow him through the door to a dark room with two chests each
standing in an antechamber.
Stand by the side of the grilled door and wait for the Bloody
Baron to fly in or out again and quickly sneak through the door.
All Gnomes on
their but
One of the doors gives access to an alcove with a Chocolate
Frog. Go get the Frog. Another alcove contains a chest. Open with Alohomora and
enjoy the Beans.
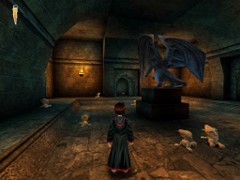
Cast Flipendo on the Dragon statue. It spins about its axis.
Nothing happens. Wanna try Flipendo again? The second time it will shed a number
of Beans.
Hmmm...
That looks like Wiggentree Bark.
Grab the Wiggentree Bark and the next door will open.
Move the statue with Wingardium Leviosa onto the left plate.
That will open the corresponding grilled cage behind it and a second statue
becomes available. Cast Wingardium Leviosa on the second statue and move it onto
the second plate.
The statue puzzle
That will open up the second cage and make a third plate
available.
Up to the next sublevel...
