 |
Walkthrough
& Screenshots by Dr. Hugh Web
Art & Links by Bert Jamin
|  |
|
|
Walkthrough
& Screenshots by Dr. Hugh Web
Art & Links by Bert Jamin
| |
|
Click on one of these images to go to that Level.
 |
 |
 |
 |
 |
 |
 |
 |
 |
 |
 |
 |
 |
 |
Or click on the link at the bottom of this page to go to the next level. Click on one of the links below to go directly to that level.
©
July 2011 Bert Jamin (www.gamesover.com)
This walkthrough, written and illustrated by Dr. Hugh, may not be sold and may
not be used for any commercial purposes. Neither is it permitted to publish this
walkthrough in any way without the written permission of the author Dr. Hugh.
Feel free to place this walkthrough on your web site or on your home page, on
condition that no part of this walkthrough is changed and that the name of the
author (Dr. Hugh), the URL of the owner of this site (www.gamesover.com)
and his E-mail address (gamesover@planet.nl)
are mentioned unchanged. For the most up to date walkthroughs always visit www.gamesover.com.
If you have any suggestions to improve this walkthrough, let me know by sending
me an email: gamesover@planet.nl.
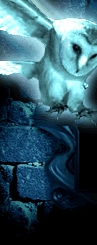
Level
1
Gringott’s
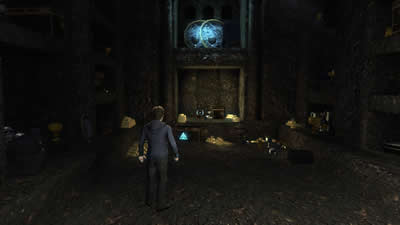
1.1 Target: retrieve the Horcrux
from the Lestrange Vault

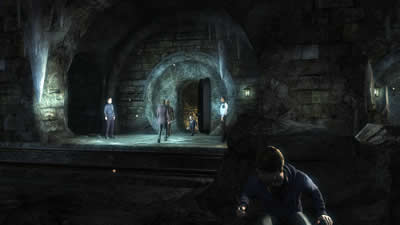
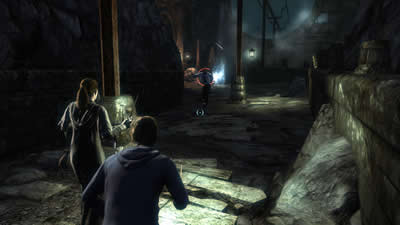
Level Start
There is a way down and a way up.
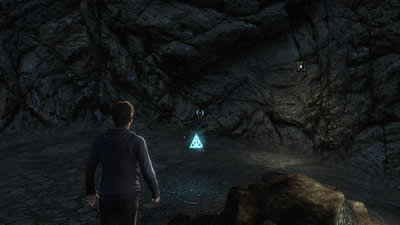
Take the way up first. Past the Waterfall you’ll find your first Collectable.
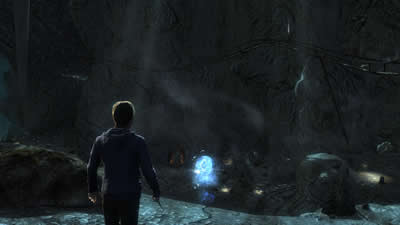
The glowing Orb is Collectable
1/4
1.2 Take the collectable
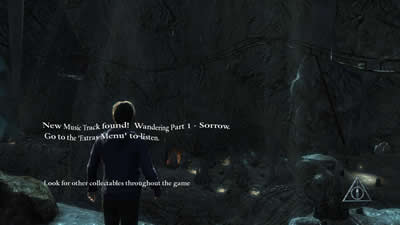
New Music track found!
Wandering Part 1 - Sorrow
(Go to Extras
in the Main Menu to view)
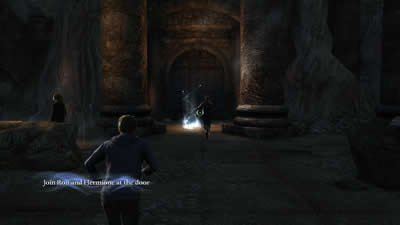
Go down and follow Ron and
Hermione on the path leading down until you reach a door on your right. The
Tutorial tells you that objectives are shown with a glowing marker. Press and
hold < (Back) to see where to go next.
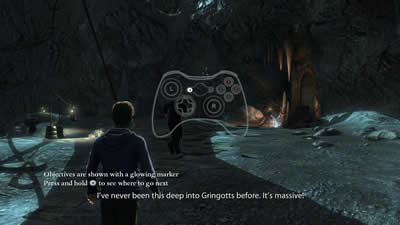
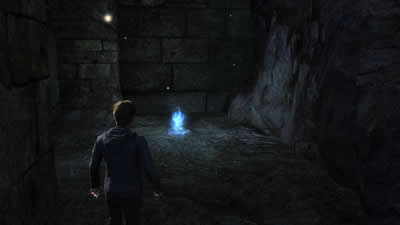
A glowing marker
I’ve
never been this deep into Gringott’s before. It’s massive!
When they pass the glowing marker
the door slides up.
1.3 Proceed. The path turns to
the right behind the door.
Walk down until you are urged to
hide behind a small rock. First follow a dead end to your right where you’ll
find Collectable #2.
Collectable 2/4
1.4 Take the Collectable.
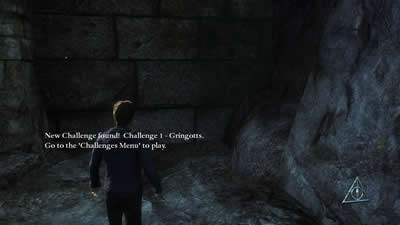
New Challenge Found! Challenge
1 - Gringotts
(go to the Challenge
Menu to play)
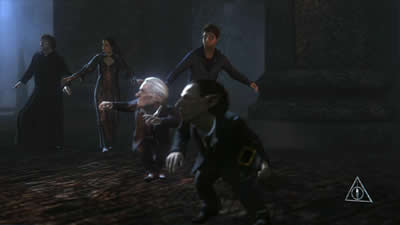
Return to the rock and hide when
the mine cart with Bogrod , Griphook and Ron and Hermione in disguise arrives at
the Vault Door. (they do look like Ron and Hermione, but... Ron and Hermione are
with Harry on the opposite side... ???)
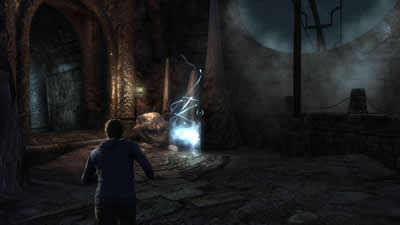
When hiding
you’ve gained Stupefy
They go inside the
door and leave some Guards behind
You have to stun these Guards
with Stupefy before they raise the alarm. When you Stupefy them they dissolve in
a cloud of black ash.

The Guards are
obviously Servants of the Dark Lord
When all the Guards are turned
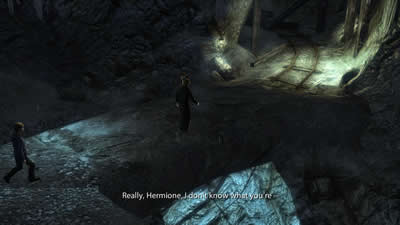
into black dust, join Ron and Hermione by the Door.
Ron: If
we want to get deeper into Gringott’s we’ll have to go to the left.
Soon they reach a door which
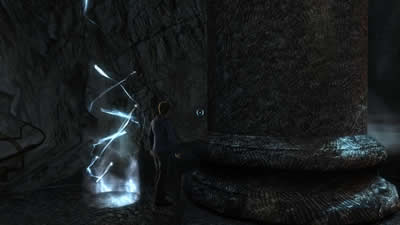
Hermione opens with Alohomora.
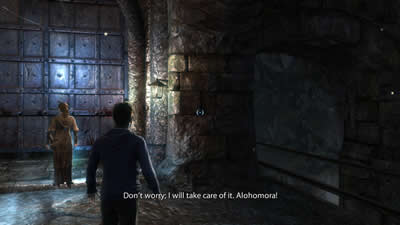
The door slides
open with Alohomora
Go down the stairs behind the
door.
Turn left when
downstairs
Immediately hide behind a rock when a mine cart passes along the tracks above your head.
Hide behind the
rock
Hide behind the next rock when a
second mine cart passes by.
Run to the tunnel on your left
and kill the first tunnel Guard.
This guy is
guarding the tunnel on the left
Turn left by the glowing marker and enter the tunnel.
The marker at the
entrance
Enter and kill the second tunnel
Guard hiding behind a rock.
Hermione: We
need to get going – they may try to seal off the Vault now.
Follow the tunnel through the
exit.
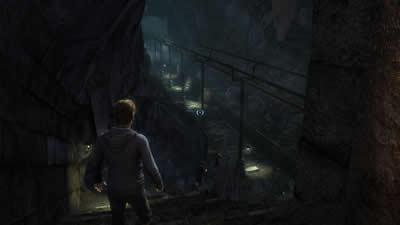
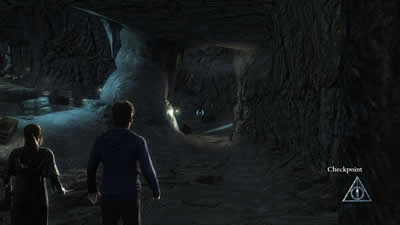
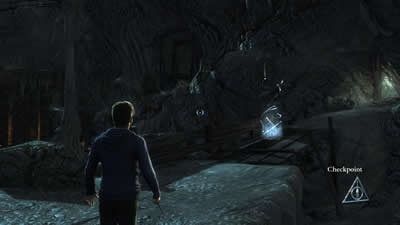
1.5 You’ll pass a carriage on
your left.
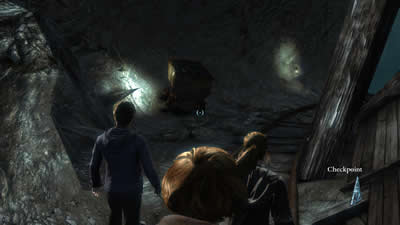
Notice this carriage at the Checkpoint
Follow the track to the next
glowing marker.
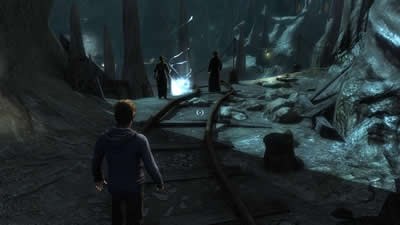
The next glowing marker
When you’re at the marker a
Tutorial will tell you about the appearance of <.
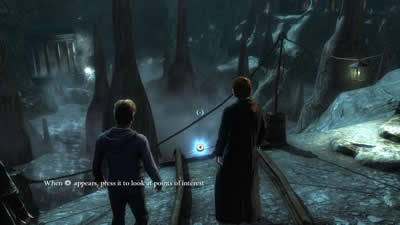
Press button < to look at
points of interest
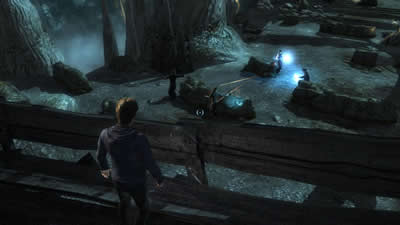
You’ll notice a mine cart
moving on the roller coaster high on the other side. You are looking at the
Vaults from above. Turn right and run to another door. The door slides open and
three Guards emerge. Hide behind a rock and shoot them. Hermione will then open
the door with Alohomora.
Alohomora!
1.6 Go through the door.
Ron:
We
do know the way back, right? I mean, how are we going to get out again?
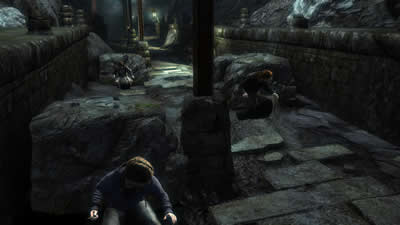
When you proceed some growling is
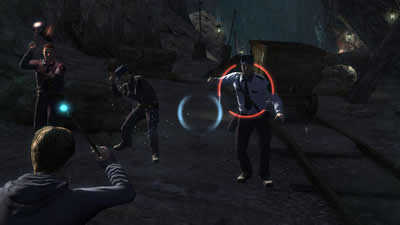
heard. You’ve gained Protego!
Use Protego against the 5 or 6
Guards and kill them. You will have to get pretty close to them.
Hermione and Ron are waiting for
you at a split of the path.
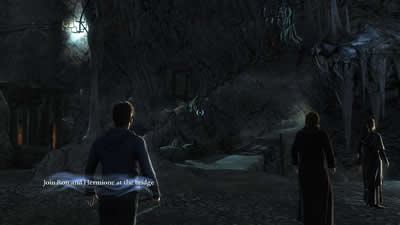
The straight path goes over a
wooden bridge
Cross the wooden bridge and run
to a dead end where Collectable #3 can be found.
Collectable 3/4
1.7 Take the Collectable
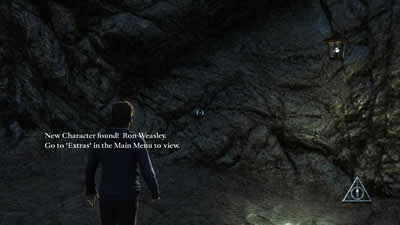
New Character found! Ron
Weasley
(go to Extras
in the Main Menu to view)
Return and follow Ron and
Hermione past the other bridge. It is unstable and is collapsing causing a gap
between Ron/Hermione and Harry.
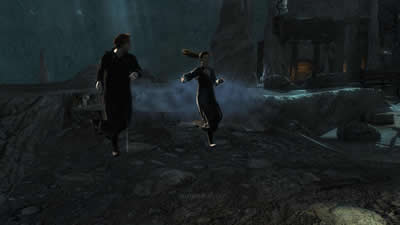

Harry,
we’ll go on ahead … See if you can find another way down.
1.8 Behind you is a next glowing
marker on the wooden bridge you’ve just passed.
Harry,
we’re going to need some help down here!
From the wooden bridge where the
glowing marker was you have a good view of the battle between Ron and Hermione
vs. the Guards down below.
Shoot the Guards from the
bridge
When you’ve shot them all a
Guard will appear out of the blue and destroy it.

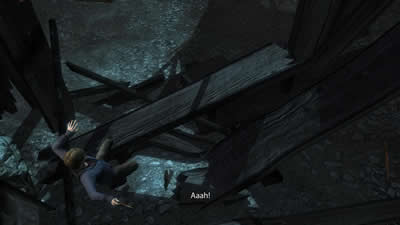
The bridge collapses and
Harry tumbles down
Down there, more Guards will
enter the scene. Use Protego when nearing them.
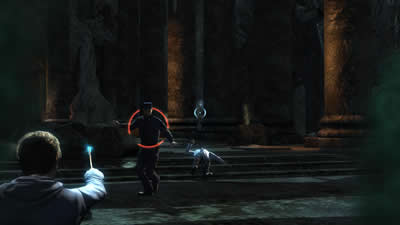
Kill all the Guards that keep
appearing
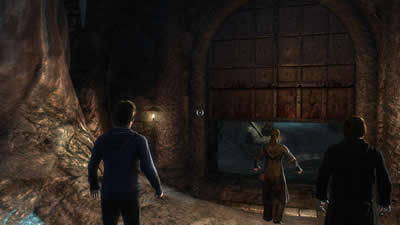
Then run to the opposite door and join Hermione.
Join Ron and Hermione by the
door
She can’t open the door because
more Guards keep showing up from behind her back. Turn around and defend her
against the Guards while she’s unlocking the door.
When all Guards are sent to the
Dark Lord in black powder Hermione has finally opened the door.
1.9 Enter through the door.
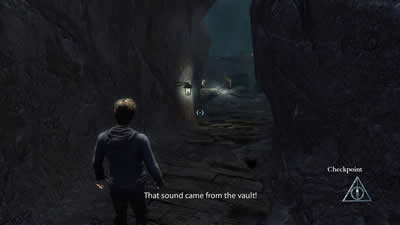
That
sound came from the Vault!...
Whatever
it is, it sounds like it’s in distress.
Turn right and kill a Guard past
the cart. Follow down to where the Gates are and fight more Guards.
More Guards are appearing
from everywhere
When all the Guards are
pulverized advance to the entrance to an open Vault.
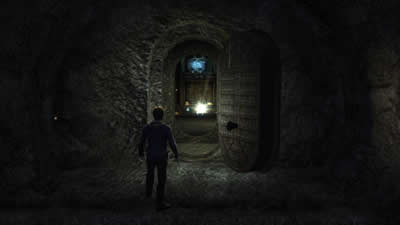
Notice a blue shining
Collectable inside the Vault
1.10 Pick up the Collectable 4/4.
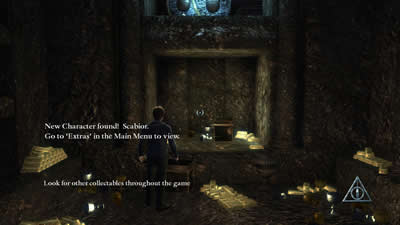
New Character found! Scabior
(Go to Extras
in the Main Menu to view.)
Get out of the Vault and turn
right to find Ron and Hermione. Follow the path. They suddenly notice a strange
smoke.
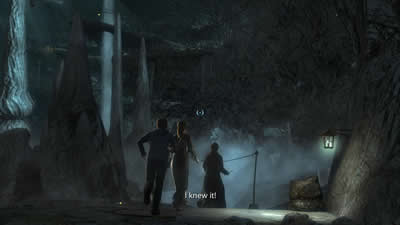
That’s
no ordinary smoke! It’s a Dragon!
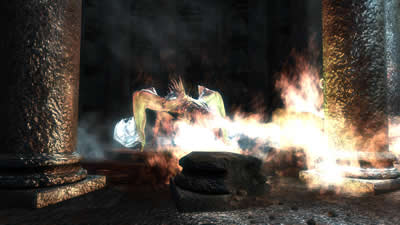
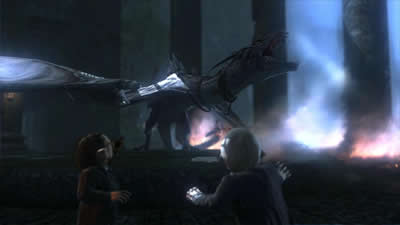
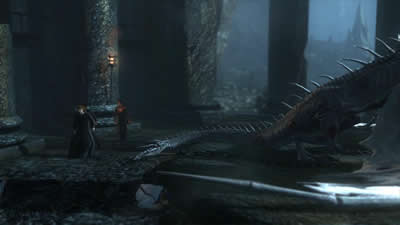
1.11 Our friends meet a chained
up and hurt Dragon
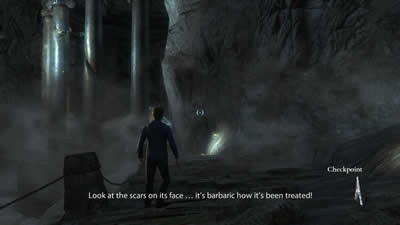
Look
at the scars on its face...
it’s barbaric how it’s been treated!...
It
looks partially blind. I bet it’ll still go for you though...
We
have no choice; we have to get past that Dragon: Griphook should meet us on the
other side with Bogrod...
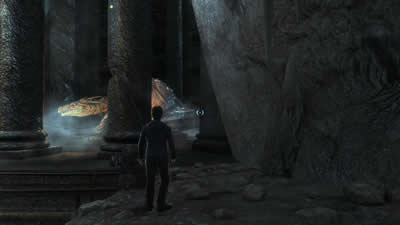
I’ll
go first. You wait here.
Ron: Yeah,
that, uh...
sounds like a plan. We’ll stay here!
Hermione: Okay,
if we have to. Be careful, Harry!
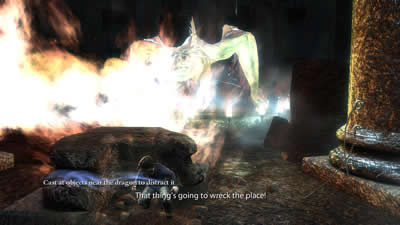
Quickly hide behind the first
pillar. The Dragon will start breathing fire that you must avoid: the fire
instantly kills you.
Behind the first pillar
From here you already see that
the Dragon is captured on a round platform surrounded by extinguished torches.
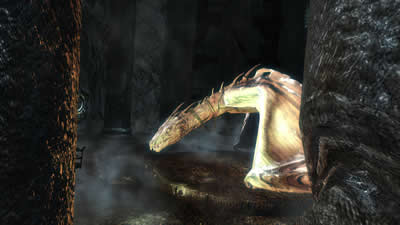
When the fire ceases run behind
the second pillar, and next behind the third.
To the next two pillars
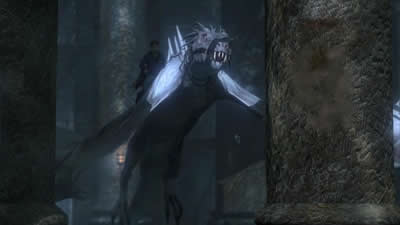
The Dragon will then breathe fire
on the fourth pillar that will therefore collapse.
The Dragon destroys the
fourth pillar
Run to the broken pillar and take
cover behind what’s left of it.
Take cover behind the base of
the fourth pillar
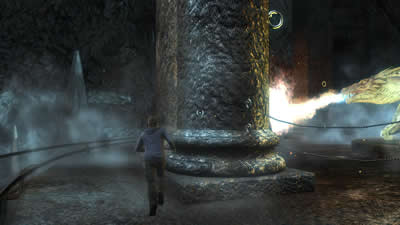
The Dragon will keep breathing
fire continuously now. The torches surrounding its platform are now lit. Aim at
one of them and shoot. That will distract the Dragon and he’ll cease breathing
fire for a short while.
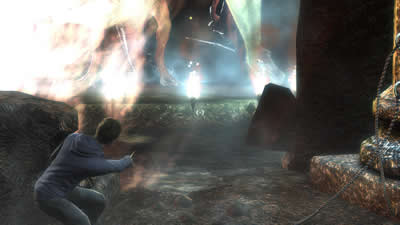
Shoot one of the burning
torches
Immediately run to the fifth
pillar before the Dragon starts breathing fire continuously again.

Behind the fifth pillar
Again shoot one the burning
torches and run to the last pillar.
Harry, Ron, Hermione, Bogrod
and Griphook are on the other side...
...watching the Beast trying
to set itself free
Bogrod hurries with the others to
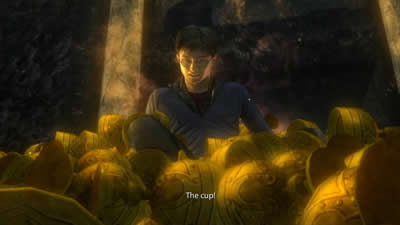
the Lestrange Vault and opens the door. The Horcrux is there:
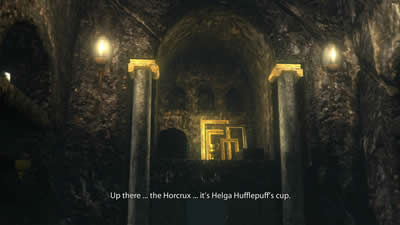
Helga Hufflepuff’s Cup
Hermione notices it’s hot in
there.
Griphook: They’ve
added Gemino and Flagrante Curses! Everything you touch will burn and multiply!
We’ll be crushed! Hurry!
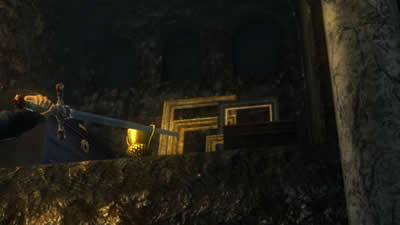
Harry has to act quickly. He
takes the Sword of Gryffindor from Hermione, climbs the stack of hot gold and
picks up the Cup by an ear.
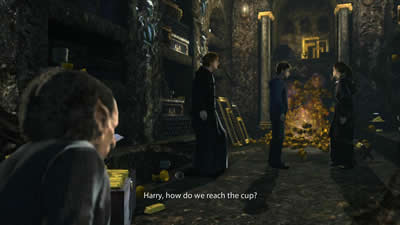
Harry is acting cool.
He’s got the Cup!
Harry: We
have a deal, Griphook.
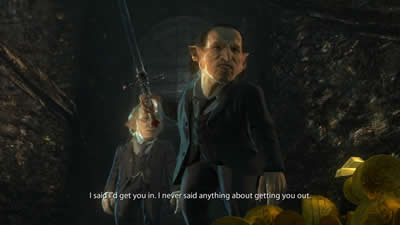
I
said I’d get you in. I never said about getting you out
Griphook seals off the door. But
the gold keeps growing and pushes the door open.
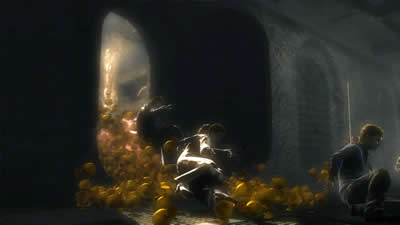
Our three friends can escape
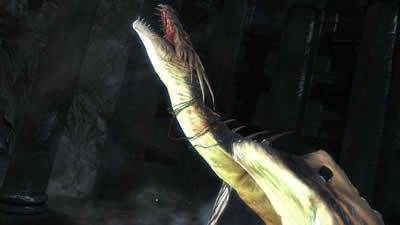
They run to the Dragon who is
still chained up. Hermione casts a spell on the heavy chain:
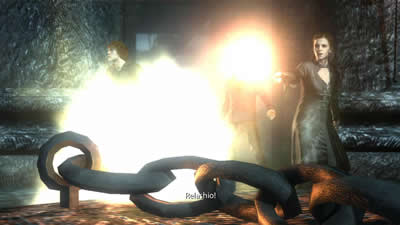
Relasho!
One by one they climb the Dragon’s tail.
Climbing the Dragon!
The Dragon escapes from its jail,
enters Gringott’s bank and breaks out through the roof.
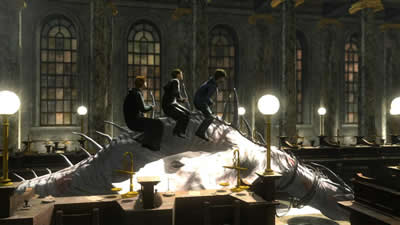

Up with the Dragon!
That
was brilliant...
terrifying, but brilliant!
The flight goes over a lake where the Dragon lowers down so our three friends may drop into the water.

Jumping into the lake
When they swim to the shore
they’re having a conversation.
Harry: I
saw Voldemort. He knows we’re hunting Horcruxes.
Hermione:
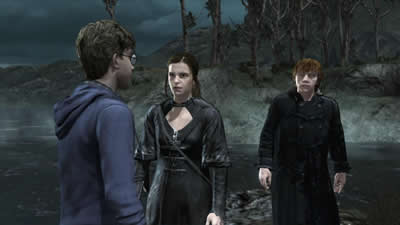
You
let him in? Harry...
Harry: I
can’t always help it. Look, there is a Horcrux at Hogwarts, something to do
with Ravenclaw. We have to go there.
Ron: One
problem: Snape’s Headmaster. We can’t just walk in.
Harry: We’ll
go to Hogsmeade. To Honeydukes. Take the secret passage in the cellar.
Next destination: