 |
Walkthrough
& Screenshots by Dr. Hugh Web
Art & Links by Bert Jamin
|  |
|
|
Walkthrough
& Screenshots by Dr. Hugh Web
Art & Links by Bert Jamin
| |
|
Click on one of these images to go to that Level.
 |
 |
 |
 |
 |
 |
 |
 |
 |
 |
 |
 |
 |
 |
Or click on the link at the bottom of this page to go to the next level. Click on one of the links below to go directly to that level.
©
July 2011 Bert Jamin (www.gamesover.com)
This walkthrough, written and illustrated by Dr. Hugh, may not be sold and may
not be used for any commercial purposes. Neither is it permitted to publish this
walkthrough in any way without the written permission of the author Dr. Hugh.
Feel free to place this walkthrough on your web site or on your home page, on
condition that no part of this walkthrough is changed and that the name of the
author (Dr. Hugh), the URL of the owner of this site (www.gamesover.com)
and his E-mail address (gamesover@planet.nl)
are mentioned unchanged. For the most up to date walkthroughs always visit www.gamesover.com.
If you have any suggestions to improve this walkthrough, let me know by sending
me an email: gamesover@planet.nl.
Level
3
A
Problem of Security
3.1 Hogwarts...
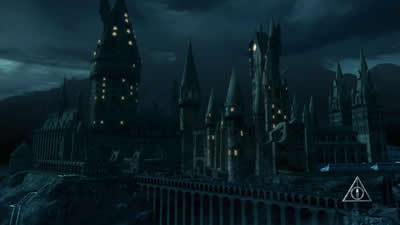
...at night
Harry, Ron and Hermione arrive at
the other end of the tunnel. He meets Neville.
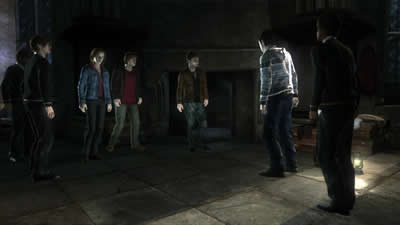
The
Room of Requirement?
Neville: This
is the only way in or out now. The grounds are crawling with Death Eaters and
Dementors.
Ron: How
bad is it, Neville? With Snape as Headmaster?
Neville: Hardly
see him. It’s the Carrows you have to watch for. They’re in charge of
discipline.
Get
the word out to the others that Harry is back. Right then.
What’s
the plan, Harry?

There’s
something here to do with Ravenclaw, hidden in the Castle...
...It could help us defeat
You-know-How. Any ideas?

Girl: Rowena
Ravenclaw’s lost Diadem! It’s a type of crown. It’s been lost for
centuries...
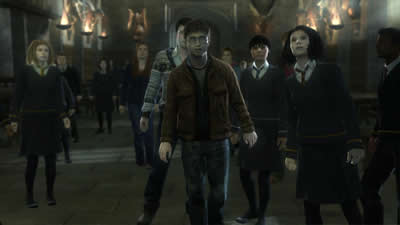
Another girl runs in: Harry! Snape knows you were in Hogsmeade. He’s gathering everyone in
the Great Hall. Now.
Snape is having a speech to the
audience in the Great Hall:

It
has come to my attention that Harry Potter was sighed at Hogsmeade...
...We have employed defensive strategies to ensure that Harry Potter will never
again step foot in Hogwarts.
Suddenly Harry enters the Great
Hall.
It
would seem...
that you have a security problem...
...And I’m afraid it’s rather extensive... Headmaster.
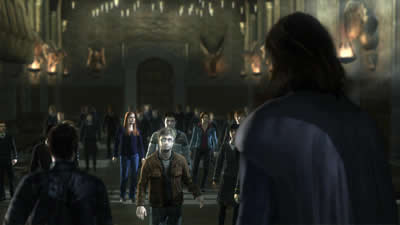
How
dare you stand were Dumbledore stood!
Tell
them how you looked him in the eye...
and killed him. Tell them!
3.2 Amycus and Alecto Carrow:

Think
you’re brave coming here, do you?
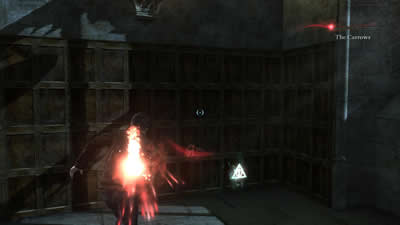
Defeat the Carrows:
I
think we should take points off Gryffindor. What do you think, Amicus?
Thirty
points ought to do it.
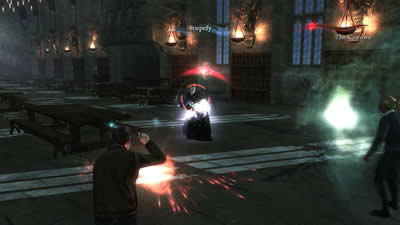
Use Protecto as much as you can
and the combo of Expelliarmus/Strupefy to defeat brother and sister.
Retreat and run to the aisle on
the right for your first Collectable behind the iron fence. You must take the
Collectables before the Carrows die.
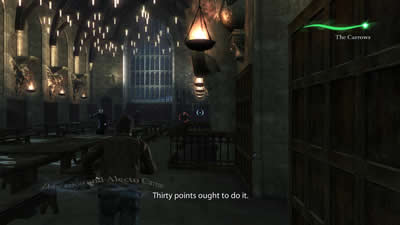
Run for the first Collectable
3.3 Grab the Collectable
New Music Track found!
Wandering Part 3 – Mystery
(go to the Extras
Menu to listen)
Take down Amycus from here.
Still one to go
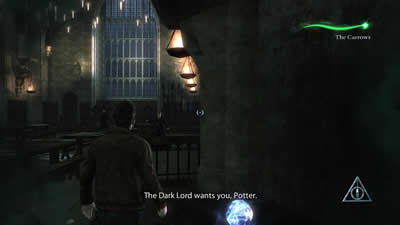
Alecto is still left:

You
think you can run away? I won’t run
from you
Behind Alecto you notice the 2nd Collectable.
Go for the Collectable first
3.4 Grab Collectable #2
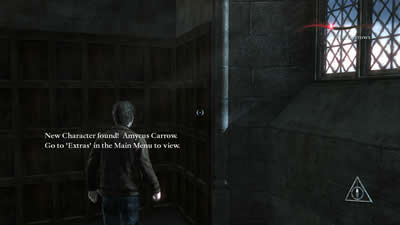
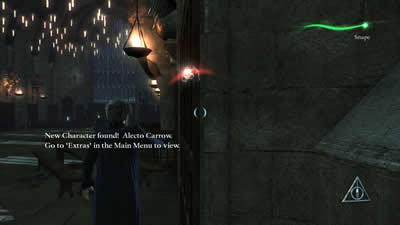
New Character found! Amycus
Carrow
(go to Extras
in the Main Menu to view)
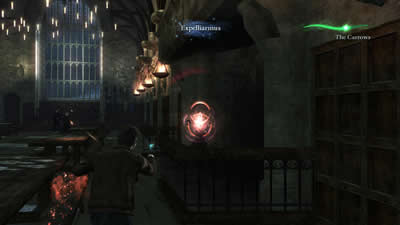
It takes a good number of
Expelliarmus/Stupefy combos to kill Alecto, but you’ll finally get her.
Defeat Alecto
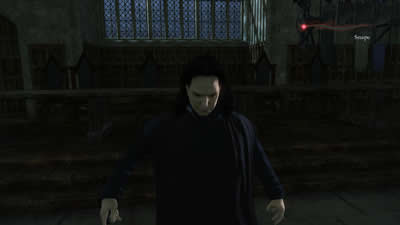
3.5 Snape is on turn again:
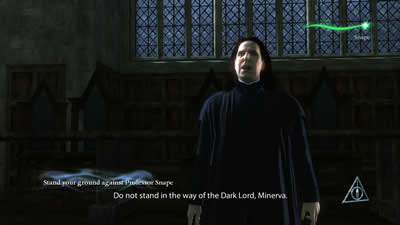
Do
not stand in the way of the Dark Lord, Minerva.
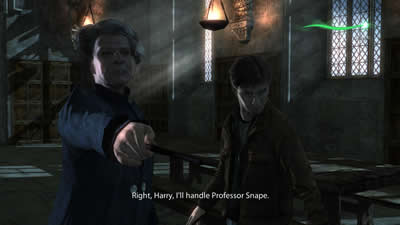
Right,
Harry, I’ll handle Professor Snape
3.6
You are a coward, Severus, you always were
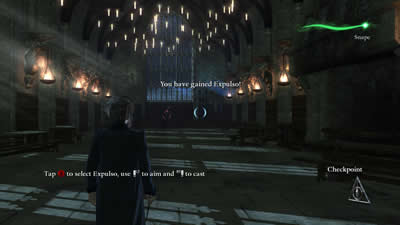
You have gained Expulso!
Minerva walks very slowly. First
step to the right where Collectable #3 is situated.
Collectable #3 is on your
right
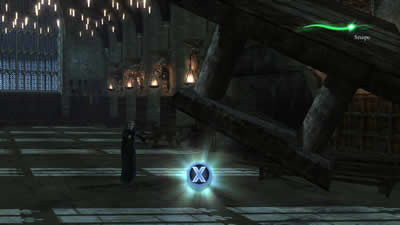
3.7 Take the Collectable.
New Character found! Alecto
Carrow
(go to Extras
in the Main Menu to view)
From here you can spot a glowing sphere in the opposite left corner:
your 4th Collectable. Try to get near the corner during the fight with
Snape. You should grab it before Snape is
defeated.
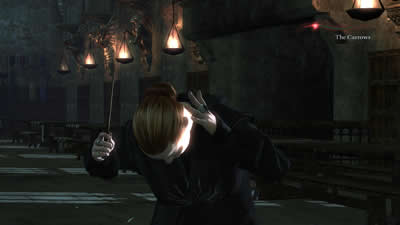
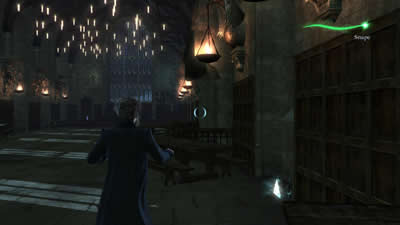
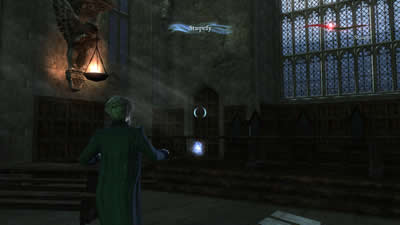
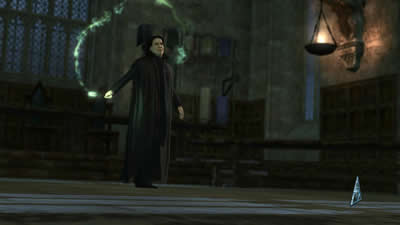
Every time you hit Snape with
Expelliarmus/Protego he teleports to another spot.
After a while he will throw a
bench. Press X to return it to Snape.
Return the bench to sender
Slowly approach the opposite left
corner and don’t forget to keep casting Protego and defend yourself.
3.8 After a few hits you’ll get
a Checkpoint.

Snape: I
suggest you hand over the boy
Snape teleports to different
heights.

Spot Snape higher up and cast
your Spells
Snape will throw a second bench.
You know what to do.
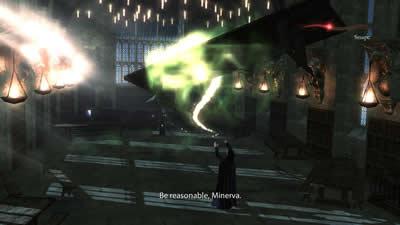
Be
reasonable, Minerva...
The boy needs encouragement from you. He was always trouble.
Meanwhile approach the corner
with the glowing sphere
3.9 Take the 4th
Collectable.
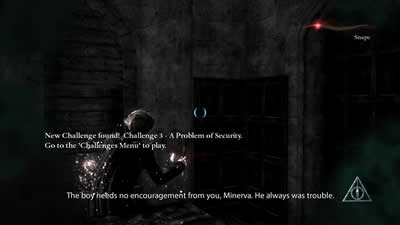
New Challenge found!
Challenge 3 – A Problem of Security
(go to the Challenge
Mode to play)
Just a few more Spells and Snape
is beaten.
Aaaaahh!
3.10 Snape is exhausted.
He draws a circle with his
wand...
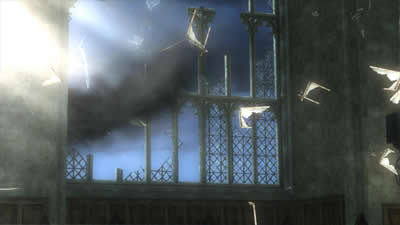
...and destroys a window
to escape
McGonagall: It
appears our Headmaster has done a bunk.
Suddenly a dark cloud appears
high up in the Grand Hall. You hear the voice of Lord Voldemort:
I
wish you no harm...
Give me Harry Potter and I, Voldemort, shall leave Hogwarts
untouched. Give me Harry Potter and you will be rewarded.
McGonagall: I
presume you have a reason for returning, Mr. Potter? What is it you need?
Harry: Time.
Time to find the Diadem of Ravenclaw.
McGonagall: Do
what you have to do. We’ll secure the Castle. Longbottom, Miss Weasley,
Finnigan...
I have a job for you.
McGonagall is walking with the
dwarf:

You
realize, of course, that nothing we do will be able to keep out You-Know-Who
indefinitely.
McGonagall:That
doesn’t mean we can’t hold him up. Piertotum Locomotor!
The armors come alive!
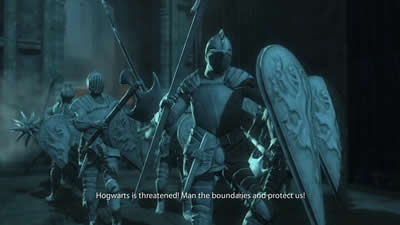
Hogwarts
is threatened! Man the boundaries and protect us!
Then the dwarf casts a Spell too:
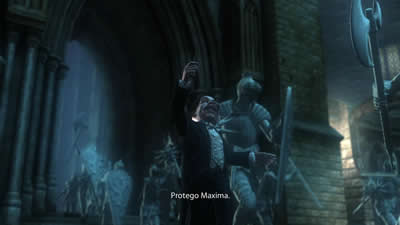
Protego
Maxima!
And Hogwarts is then shielded by
a powerful magical dome:
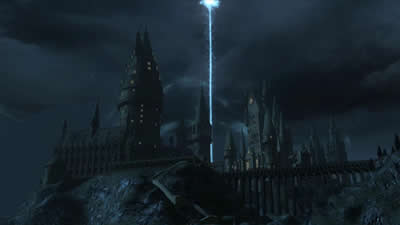
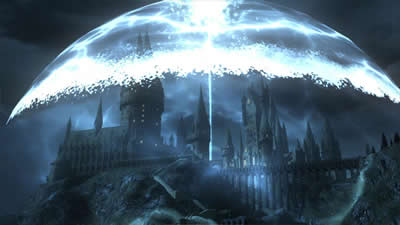

The Castle is shielded now
Down the stairs Harry, Ron and
Hermione have a meeting discussing their next plans.
Ron: Harry,
it doesn’t matter if we find the Horcruxes.
Hermione: Unless
we can destroy them.
Ron:
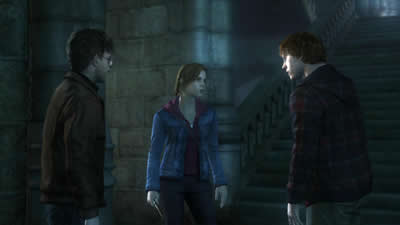
We
destroyed Tom Riddle’s Diary with a Basilisk fang, right?...
...well, we know where we might find one, don’t we? We’re going to the Chamber
of Secrets
Harry: Okay.
But take the Marauder’s Map. Then you’ll be able to find me.