 |
Walkthrough
& Screenshots by Dr. Hugh Web
Art & Links by Bert Jamin
|  |
|
|
Walkthrough
& Screenshots by Dr. Hugh Web
Art & Links by Bert Jamin
| |
|
Click on one of these images to go to that Level
 |
 |
 |
 |
 |
 |
 |
 |
 |
 |
 |
 |
 |
 |
 |
 |
 |
 |
 |
 |
 |
 |
 |
 |
 |
 |
 |
 |
 |
 |
 |
 |
Or click on the link at the bottom of this page to go to the next level. Click on one of the links below to go directly to that level.
©
November 2010 Bert Jamin (www.gamesover.com)
This walkthrough, written and illustrated by Dr. Hugh, may not be sold and may
not be used for any commercial purposes. Neither is it permitted to publish this
walkthrough in any way without the written permission of the author Dr. Hugh.
Feel free to place this walkthrough on your web site or on your home page, on
condition that no part of this walkthrough is changed and that the name of the
author (Dr. Hugh), the URL of the owner of this site (www.gamesover.com)
and his E-mail address (gamesover@planet.nl)
are mentioned unchanged. For the most up to date walkthroughs always visit www.gamesover.com.
If you have any suggestions to improve this walkthrough, let me know by sending
me an email: gamesover@planet.nl.
Level 16
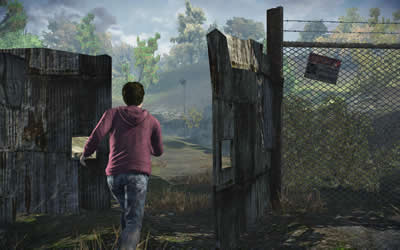
16.1 Follow Dean and the Goblin.
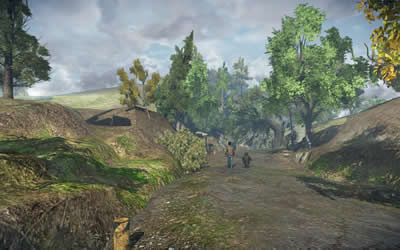
You can see them walking away
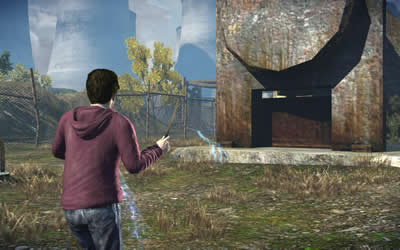
However there is a barrier of rocks you can only pass if you have obtained the Confringo Spell.
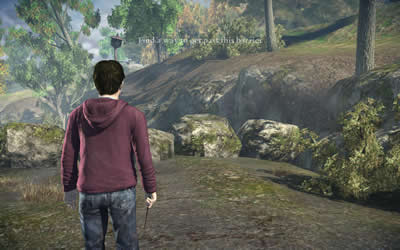
You have to pass this barrier
There is no other way but returning to the abandoned site.
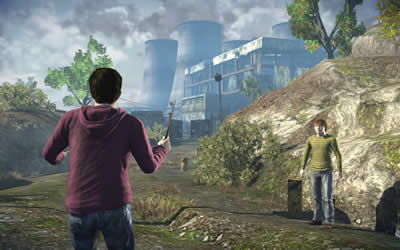
Return
16.2 Enter the ruins once again.
First shoot about 10 foes before you find your way again around the shack.

Cast Four-Points
Turn around and shoot another pack of foes in the ruins. Take them one
by one, always hiding behind the shack to restore your health.
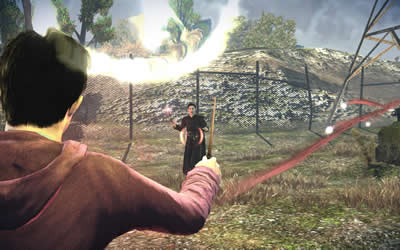
Shoot one Snatcher
Immediately hide behind the shack
When all Snatchers are slaughtered find your way to the ruin of a house.
Get into this ruin
Here you’ll find the Spell you need:
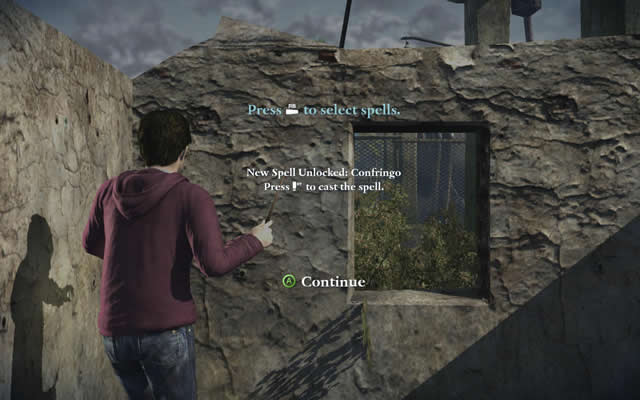
Confringo!
Confringo is your final Spell. It causes objects to explode
dramatically, affecting the surrounding area. Be careful though – the
explosion recoil may knock you down for a few seconds.
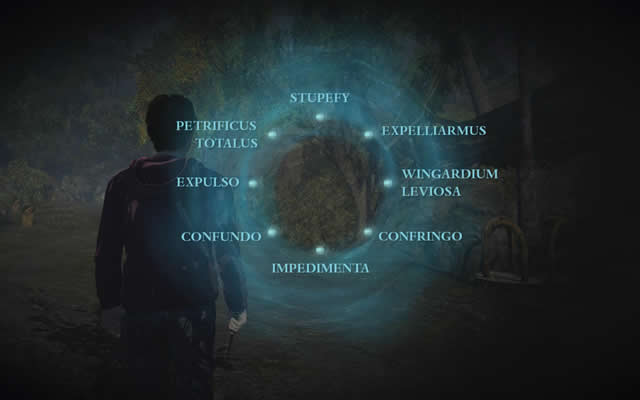
Press and hold RB, and navigate with L to select your Spell, then press
A
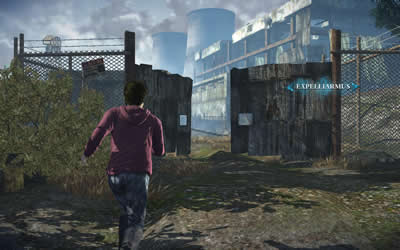
Return through the door.
The door
Cast Confringo to clean the barrier.
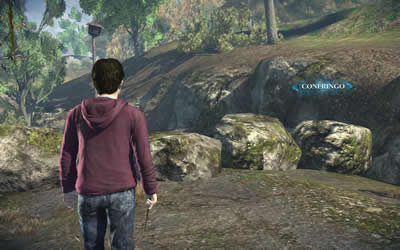

This Spell removes the rocks
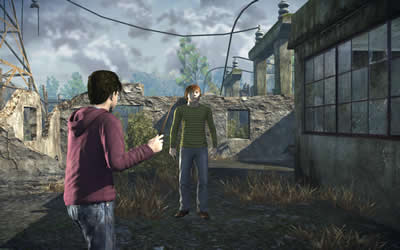
16.3 Now you can follow Dean and the Goblin along the path.
Continue and pass the Whomping Willow all along the left.
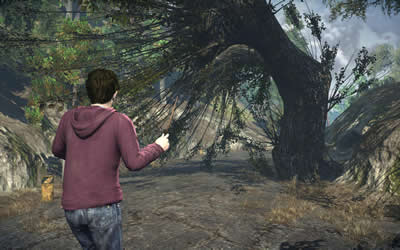
Pass the Whomping Willow safely
You’re entering another shaggy area.
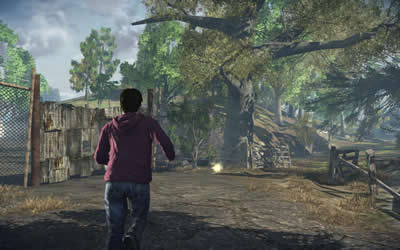
Go through the door
Next you’ll watch a small cinematic with Dean and the Goblin. The Goblin usually takes the word.
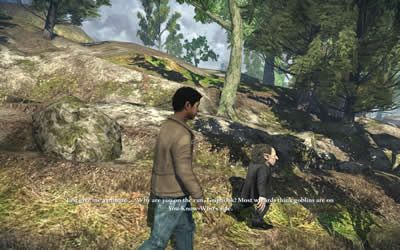
Just give me a minute...
Dean: Why are you on the run, Griphook? Most Wizards think Goblins are on You-Know-Who’s side.
Griphook: We take no sides. This is a Wizard’s war.
Dean: Then why are you here?
Griphook: Gringotts is no longer under sole Goblin control and I
recognize no Wizarding Master. Still, I had my small revenge before I
left.
Dean: Revenge?
They are crossing the bridge now. Griphook:
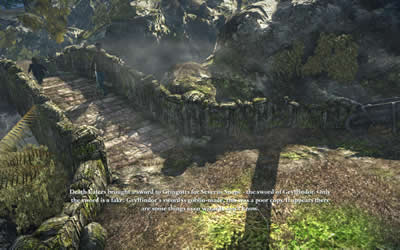
Death Eaters brought a Sword to Gringotts for Severus Snape –
The Sword of Gryffindor. Only the Sword is a fake. Gryffindor’s Sword is
Goblin-made, this was a poor copy. It appears there are some things
even Wizards don’t know.
Dean: Ha, I know a lot of people that will be happy to see Severus Snape unhappy.
Come, it’s time to move on. I feel we are not alone in this forest.
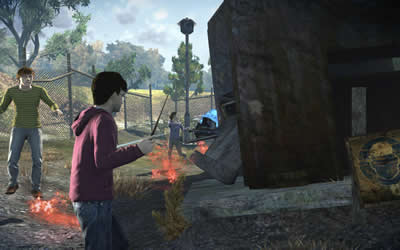
Next we see Harry and friends being attacked by these pesky Doxies. Doxycide will extinguish them.
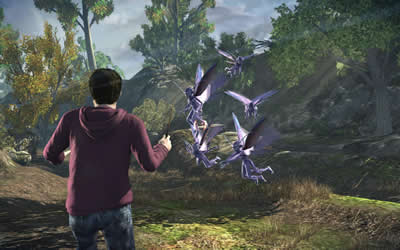
Another Doxies attack
Nearby is a chest.
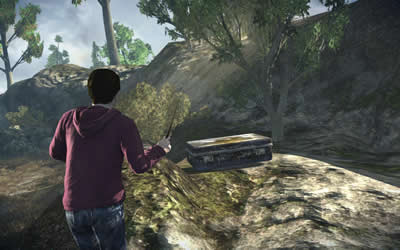
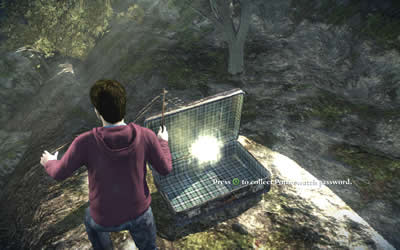
Open the chest
Cast Four-Points to find your next destination.
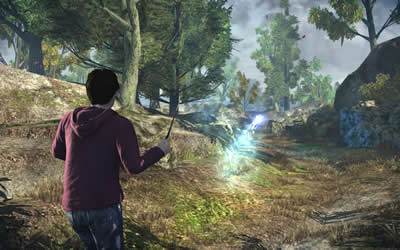
Four-Points
16.4 Cinematic: a confrontation with Ron.
Hermione: Gryffindor’s Sword, it’s Goblin made... So, nothing
damages it. It only takes in that which makes it stronger. Harry, you
destroyed one Horcrux, right? Tom Riddle’s diary. With the Basilisk
fang. When you stabbed the Basilisk...
the Sword took in some of its venom.
Harry: So, the Sword... the Sword can destroy Horcruxes!
Ron: Brilliant. But, unless I’ve got it wrong, Gryffindor’s Sword is
a fake. It’s just like the Horcruxes, no one knows where the real Sword
is!
Harry: Did you think we’d be finding a Horcrux every other day?
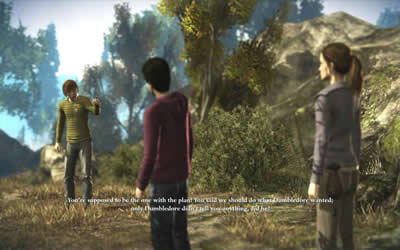
You’re supposed to be the one with the plan!...
You said we should do what Dumbledore wanted; only Dumbledore didn’t tell you anything, did he?
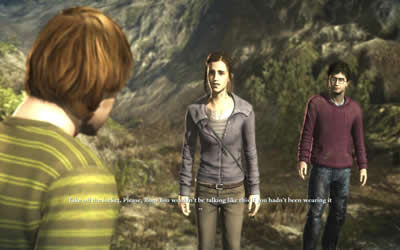
Take off the locket. Please, Ron. You wouldn’t be talking like this if you hadn’t been wearing it --
Ron: Yeah, I would! And so would you if you were honest.
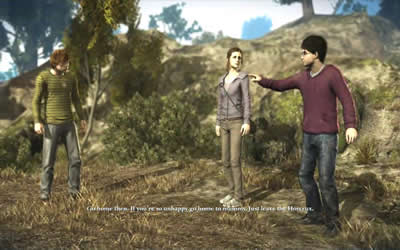
Go home then...
If you’re so unhappy go home to mummy. Just leave the Horcrux.
Ron is going away.
Hermione: Ron! Stop!
Harry: Are you staying? Or coming?

Ron, no – please –
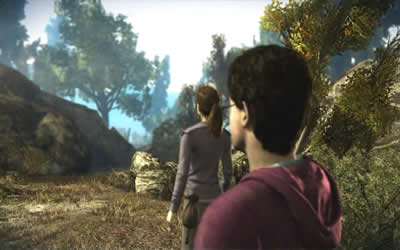
But Ron has vanished
Hermione (to Harry):
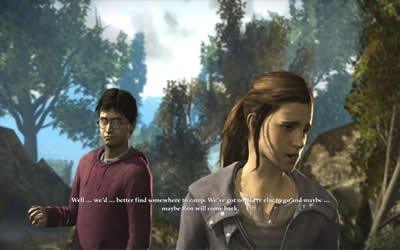
Well... we’d better find somewhere to camp...
We’ve got nowhere else to go and maybe... maybe Ron will come back.